AXIO Distribution - Enable individual serial number label printing
Overview
The Enable individual serial number label printing feature provides the ability to print labels for serialized Items received through the Dynamics 365 Supply Chain Management application. Can print a single label or batch of labels.
Prerequisites
Install and configure the following in the order shown below:
D365 Mobile App for Warehouse Management - this must be installed first. You can use the following link to install the D365 Mobile App: D365 Mobile App for Warehouse Management
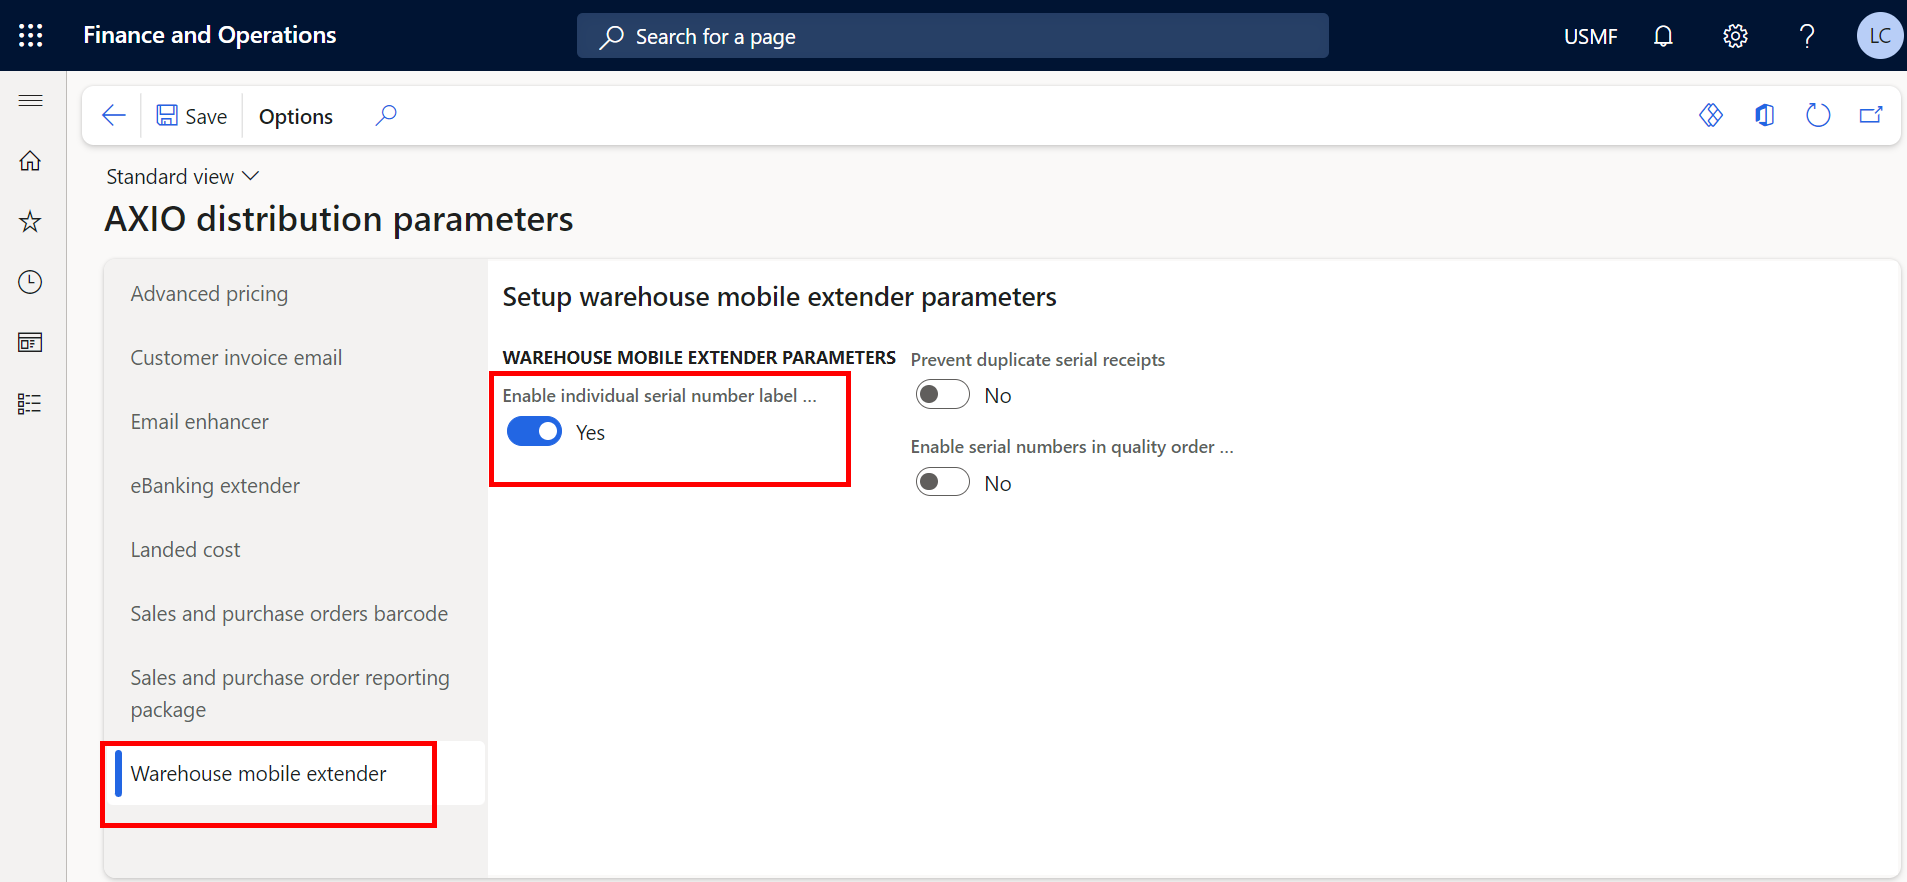
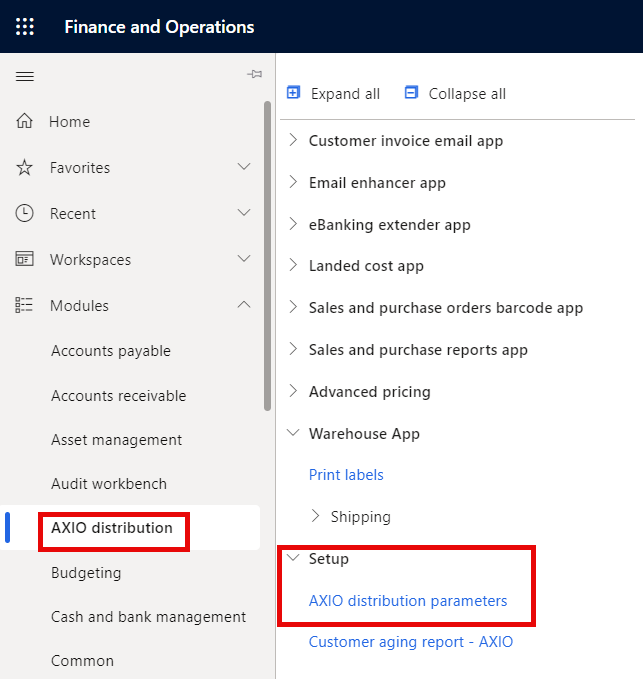
Turn on the Enable individual serial number label printing feature in AXIO Distribution Parameters.
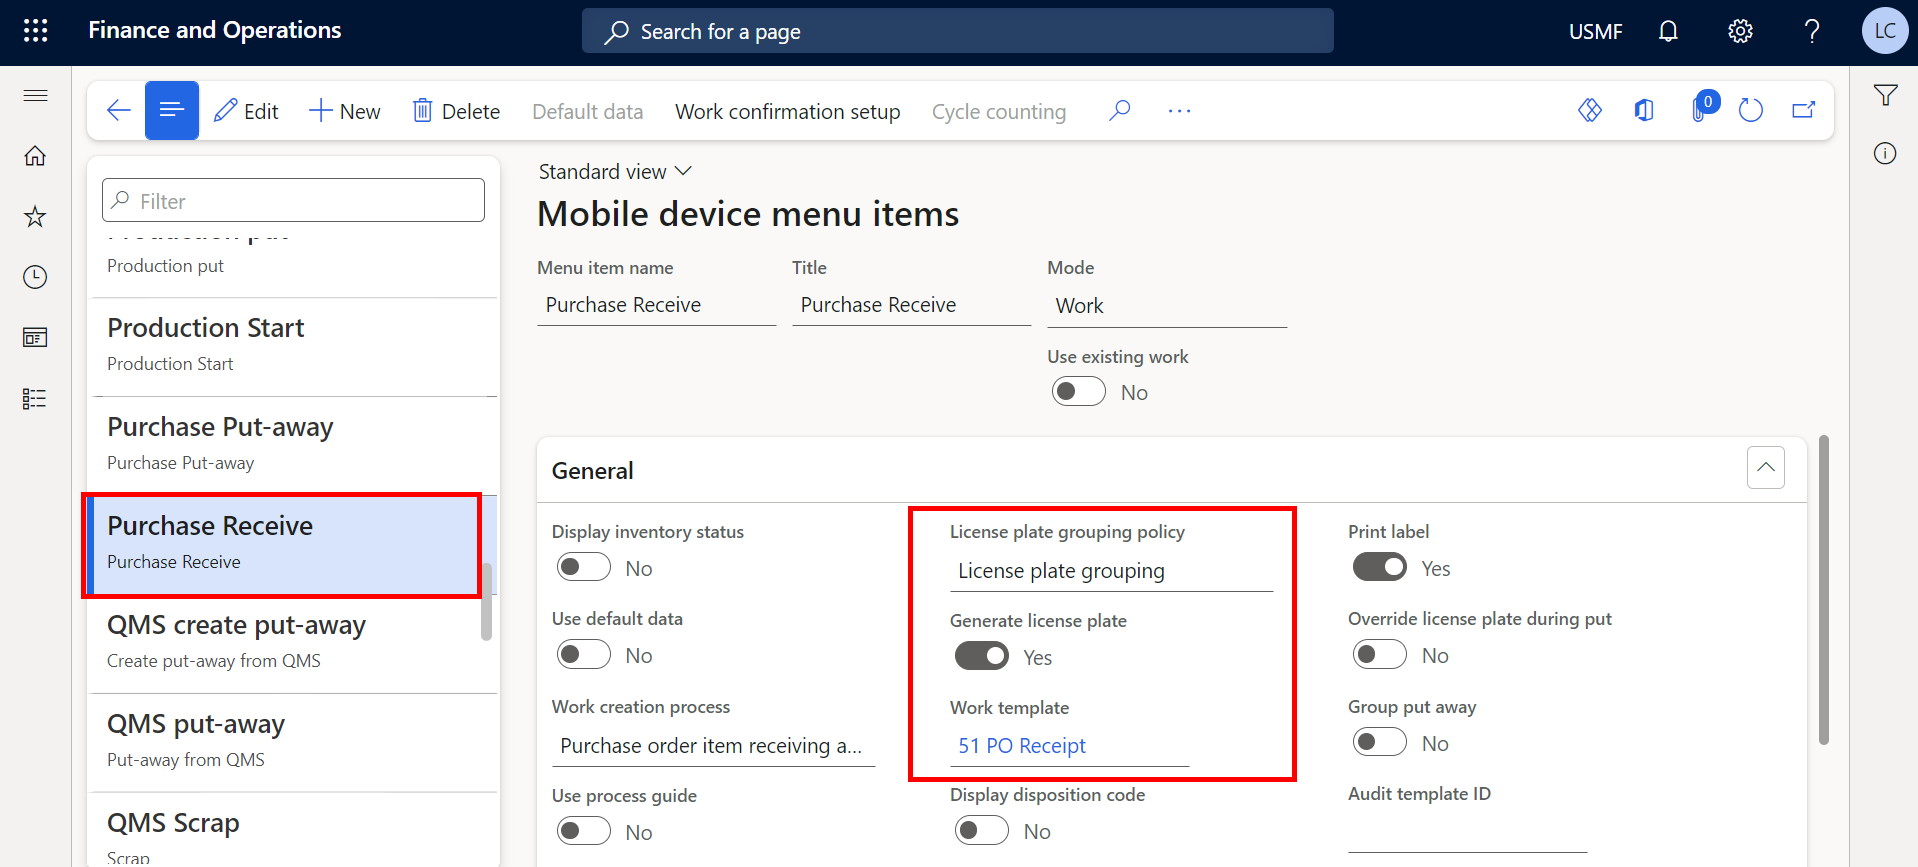
Configure License plate grouping policy in Warehouse Management > Mobile device menu items.
Enable Work Template > Print Label in Warehouse Management > Mobile device menu items.
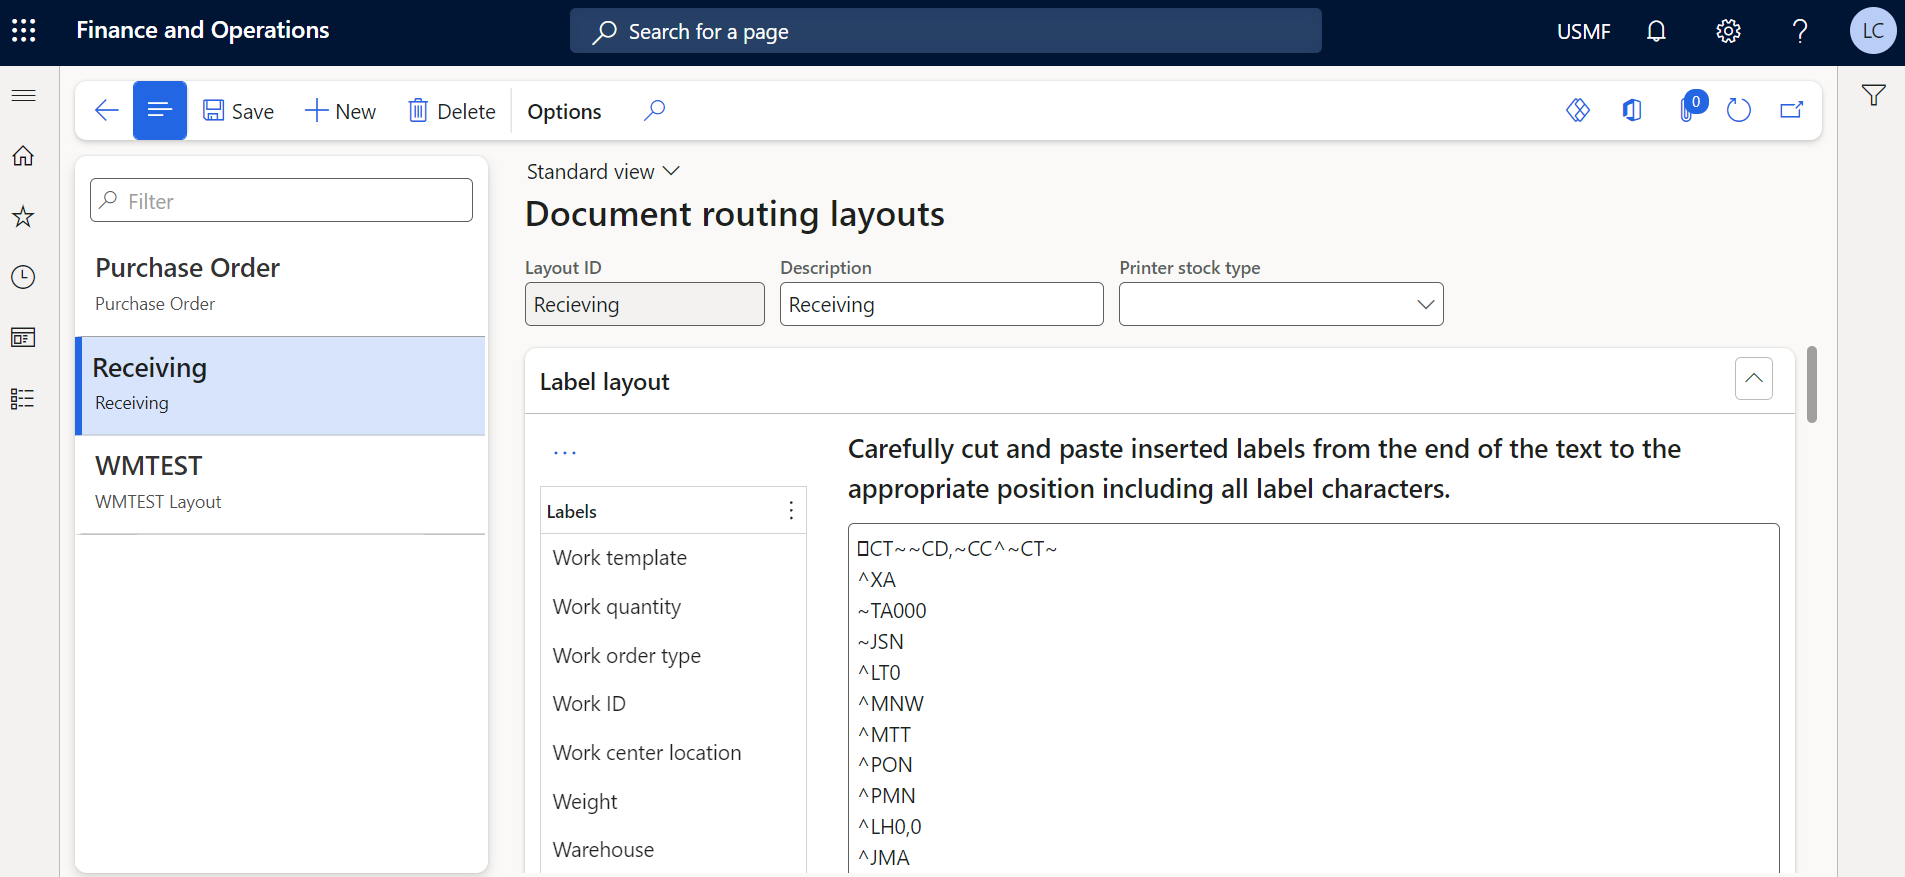
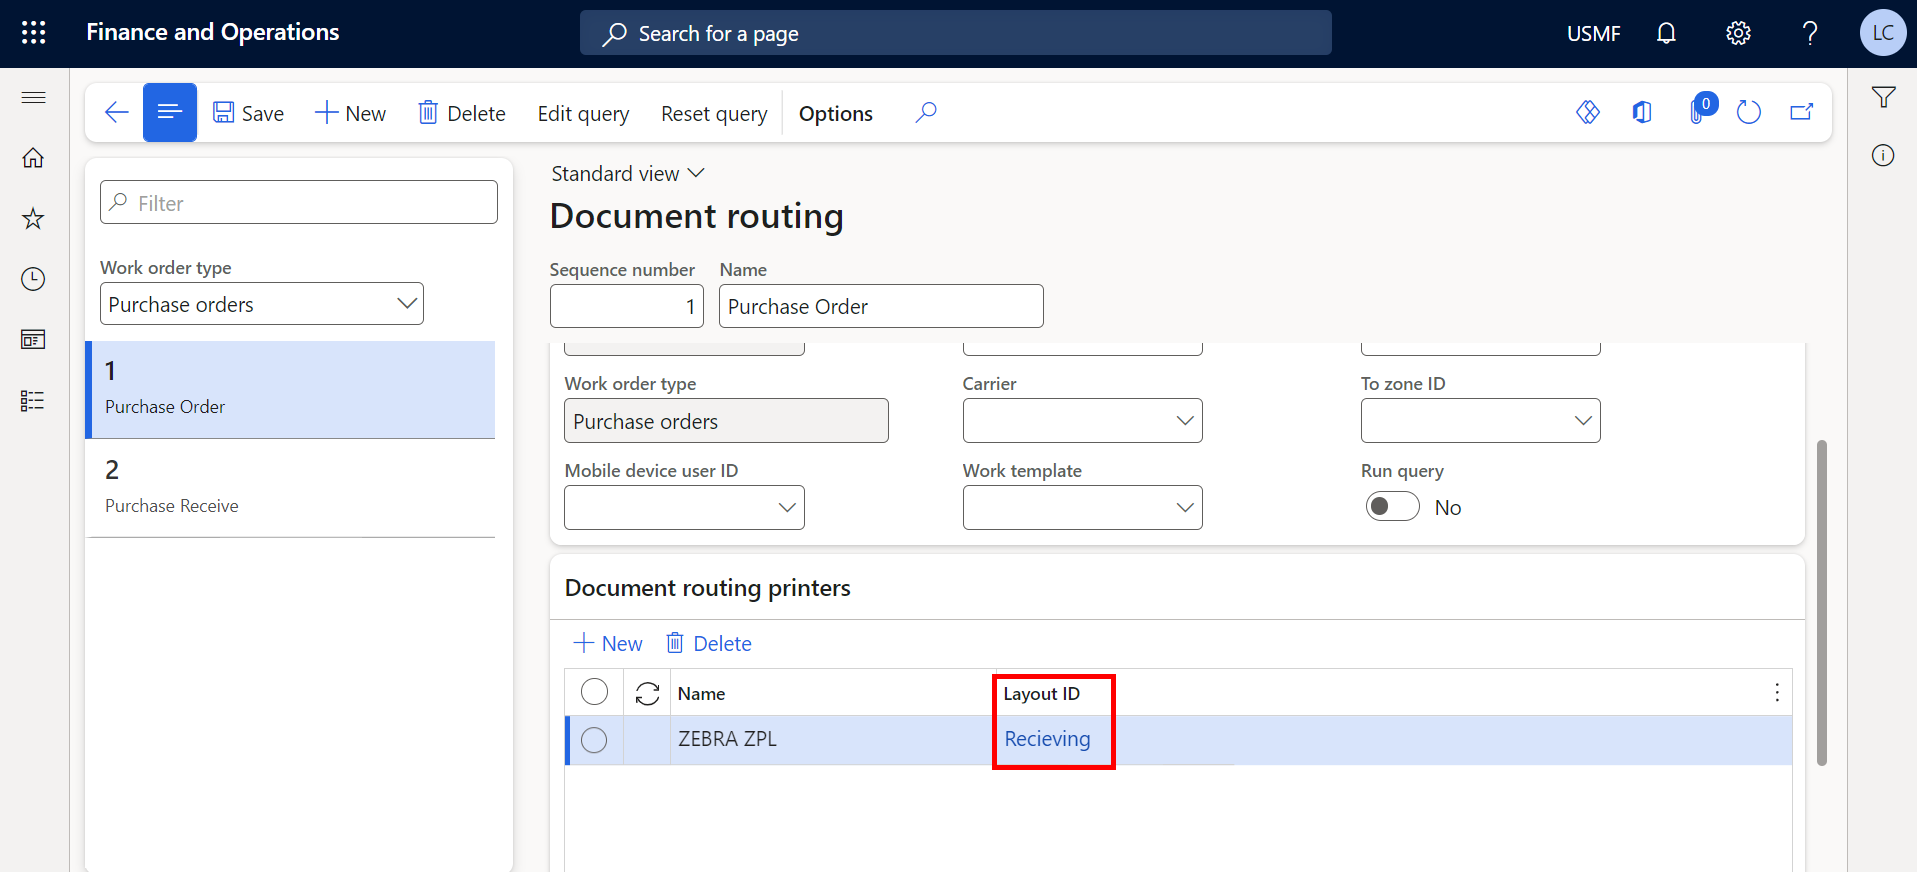
Configure Document Routing > Document routing layouts with your network label printer specifications.
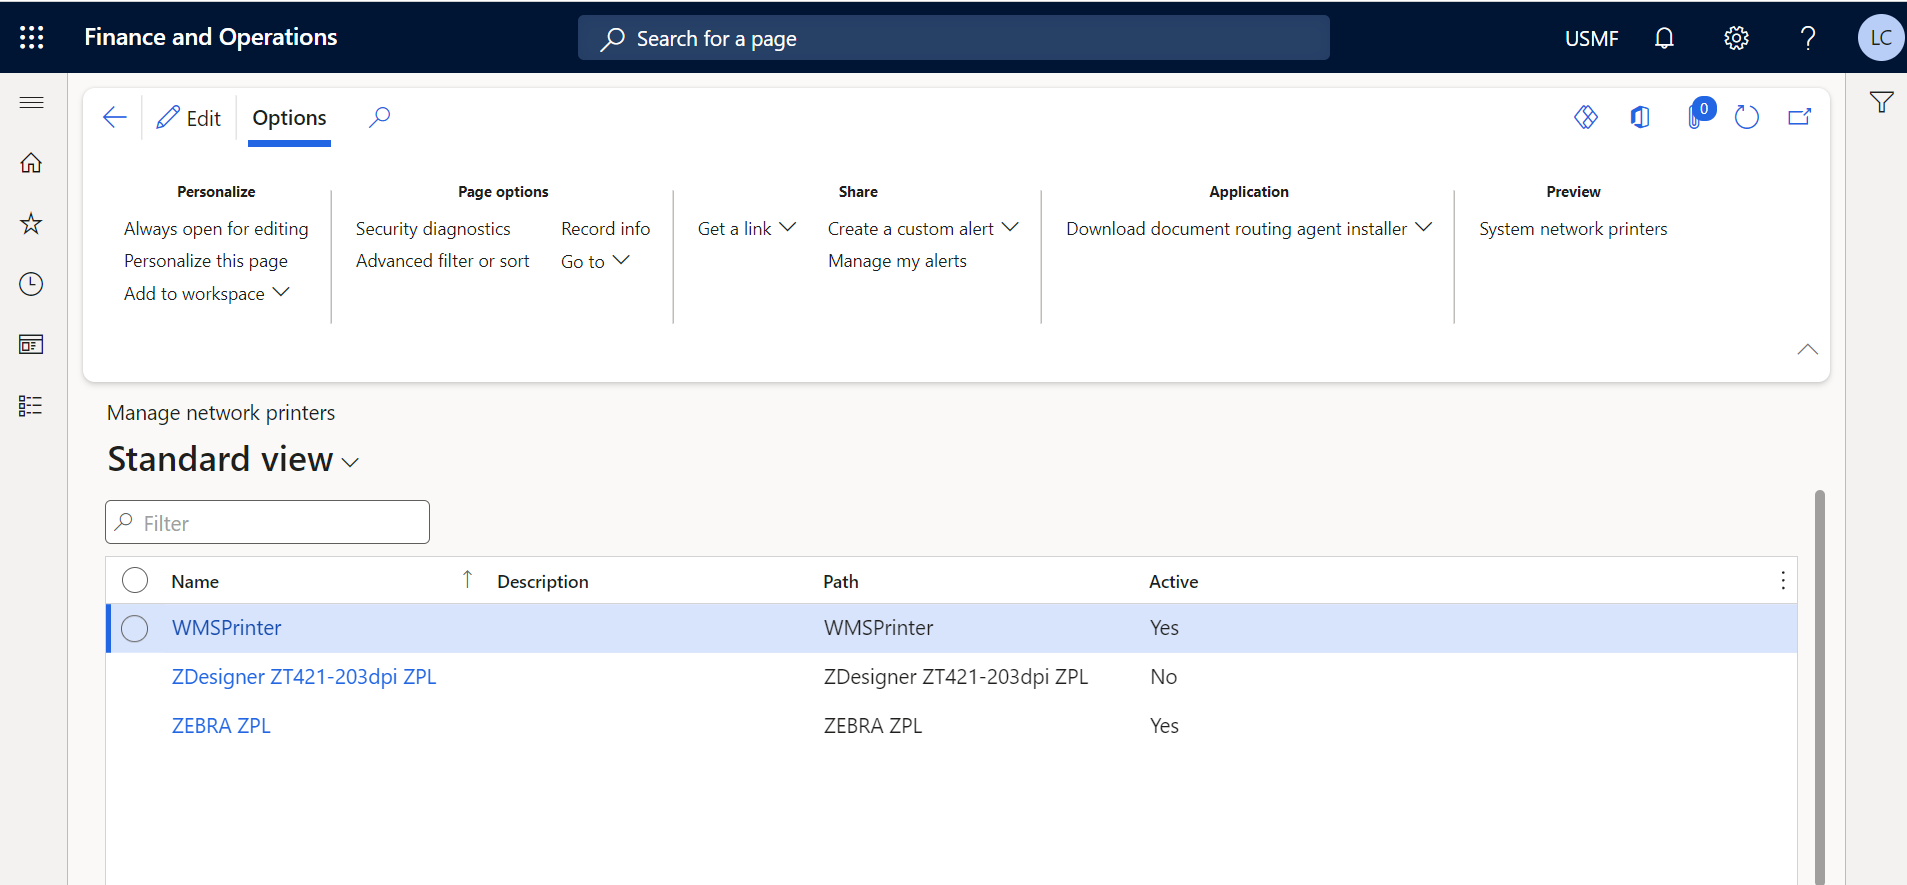
Install the network label printer to your environment under Organization administration > Manage Network printers.
Add the Layout ID for your network label printer in Document Routing.
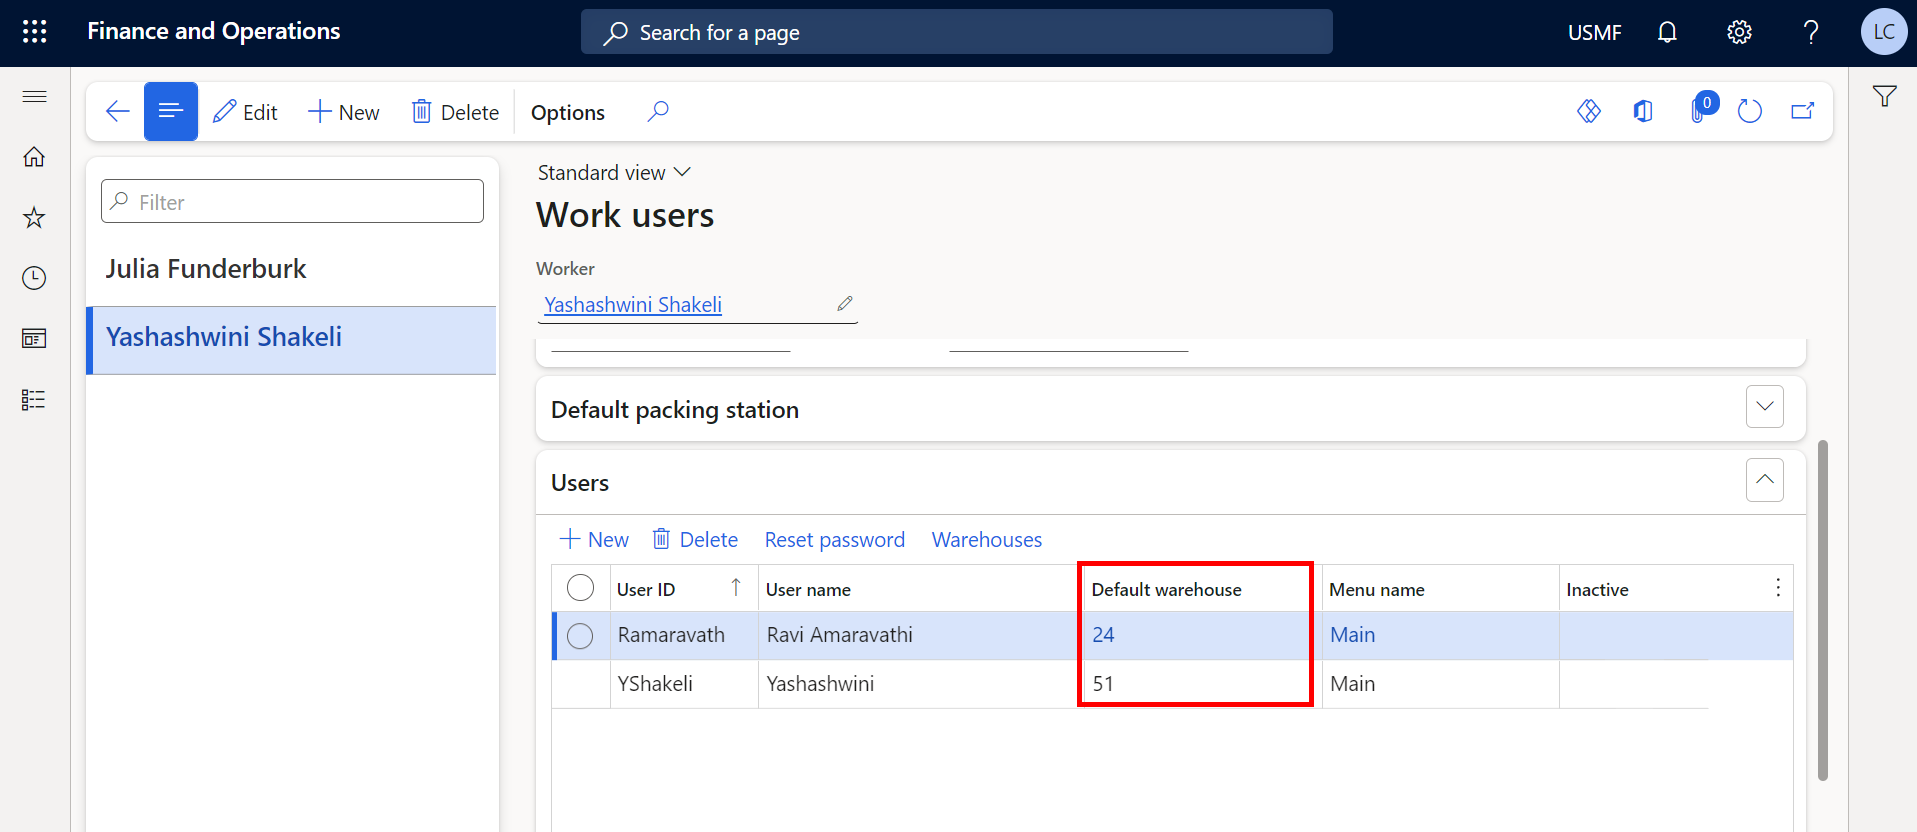
Set up the Default warehouse for users in **Warehouse management > Setup > Worker > Work Users.
Print labels
Once a purchase order is created, open the Mobile Warehouse App.
Enter the PO number, quantity received, and serial numbers to assign/receive.
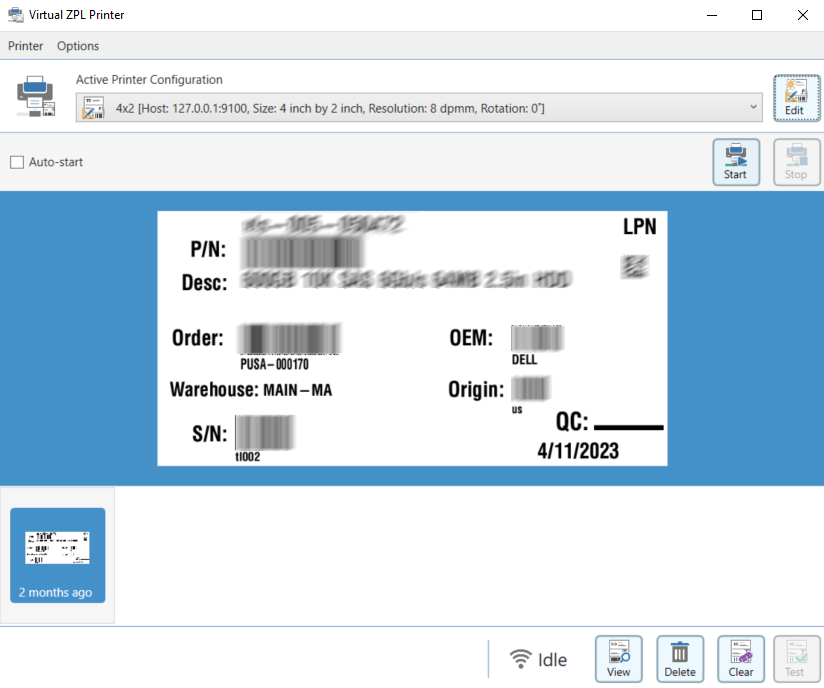
Once the Items are received and serial numbers assigned, the network printer will automatically print serial number labels for the Items received.
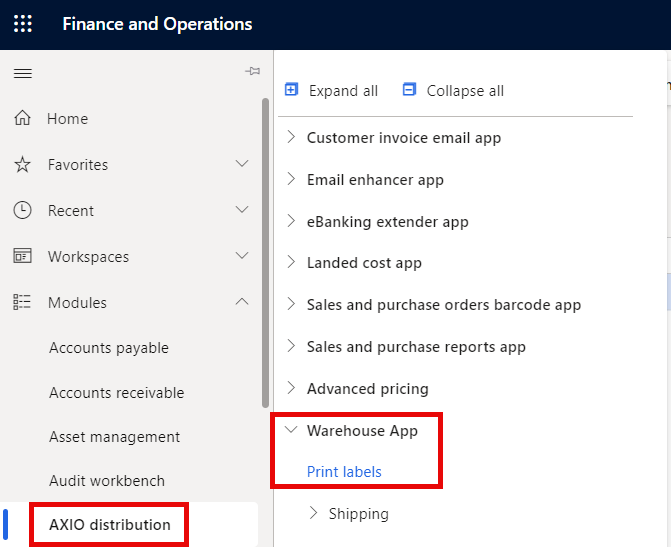
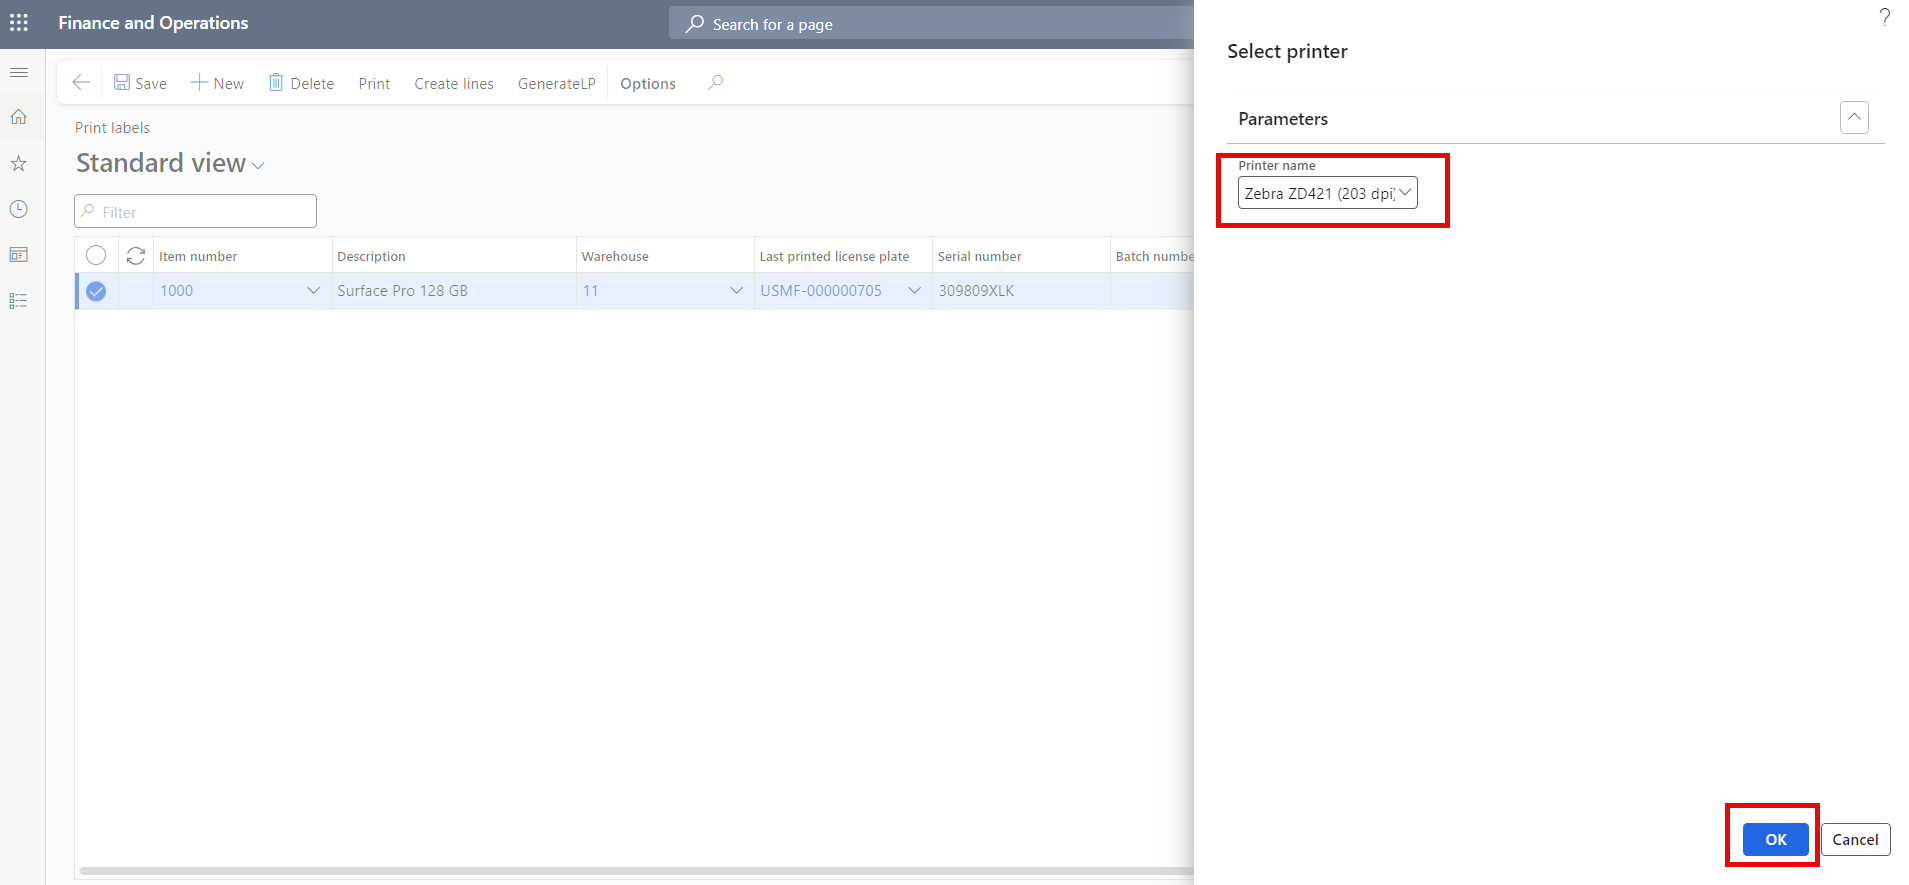
Labels can also be printed directly from the Print Labels page, which is found under AXIO distribution > Warehouse App > Print labels.

Click New and create a line with Item number, and Warehouse.
A License plate can be generated by clicking Generate LP on the Action pane.
Add a Serial number, Batch number or Order number, if applicable.
AXIO has added the following fields to the standard Business Central Print Labels page for additional functionality:
- Serial number
- Last created date
- Last printed date

By default, the number of labels to print is 1, but this can be changed, as required.
Click Print, select a printer and click OK.
Another way to print labels is to click Create lines from the menu. Click OK and the lines will be automatically generated from the Purchase orders with serialized items and warehouse enabled PO's.
Auto-Delete Labels
To auto-delete the lines once they are printed, enable the feature under AXIO distribution parameters.
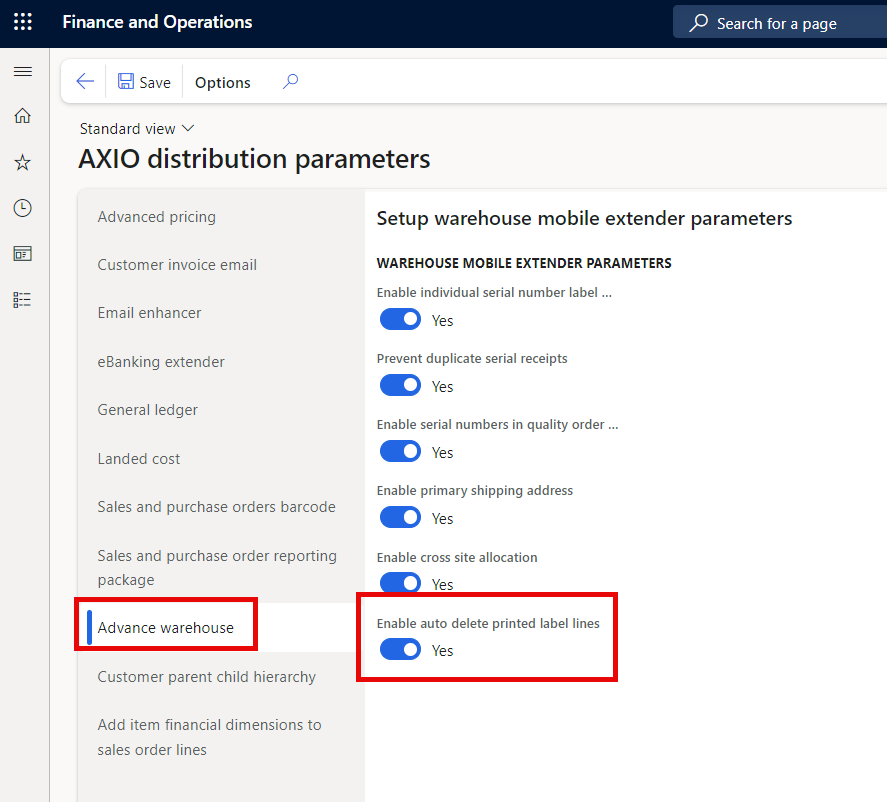
If Enable auto delete printed label lines is set to true in AXIO distribution parameters > Advance warehouse, the printed lines will be automatically deleted.
If this option is disabled, the Last created date and Last printed date will be updated.